How to Make a Zolino Bracelet
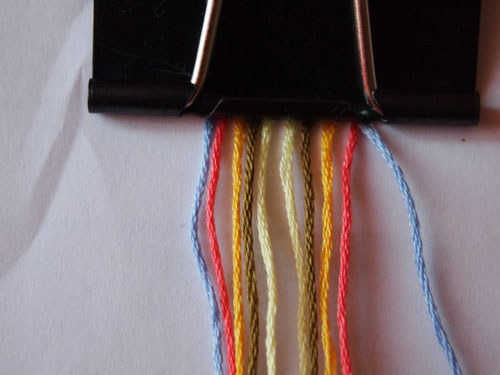
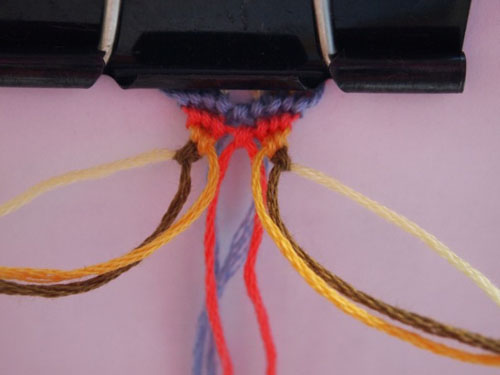
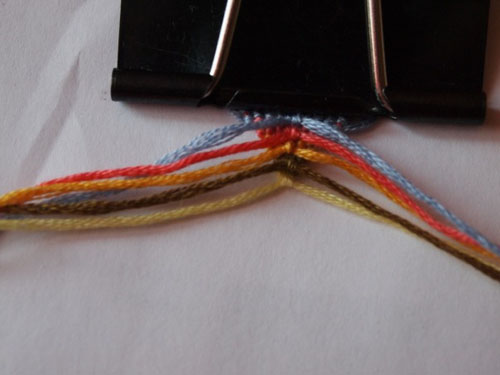
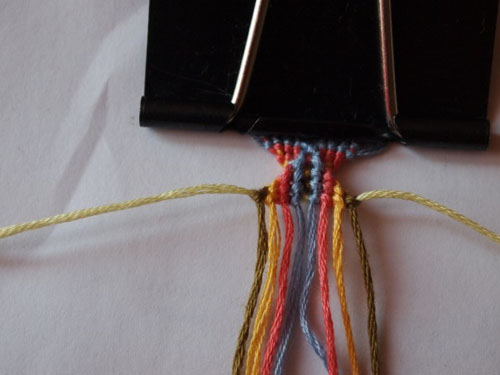
1. Take five pairs of strings of different color and arrange them as shown in the picture:
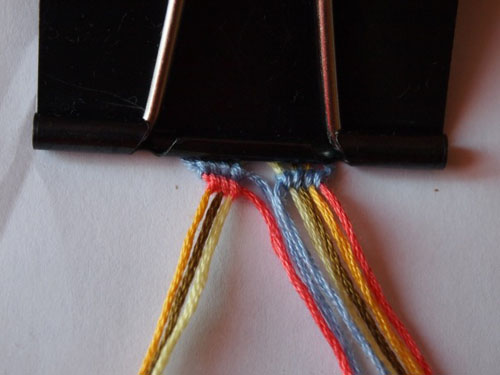
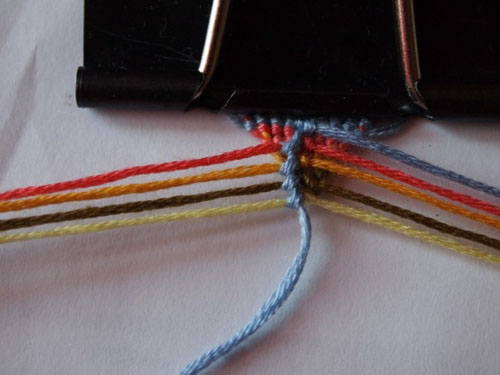
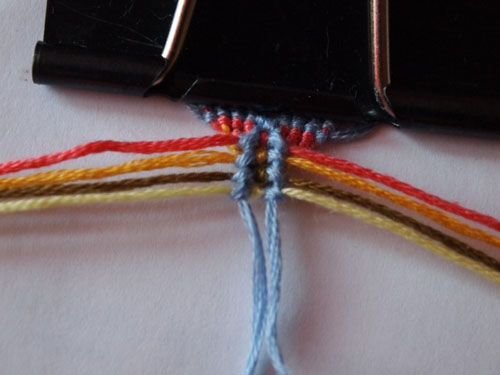
2. Take the first blue string and make four
forward knots. Take the second blue string and make four
backward knots. Next, take the red string and make three forward knots.
3. Repeat the same with the rest of the strings.
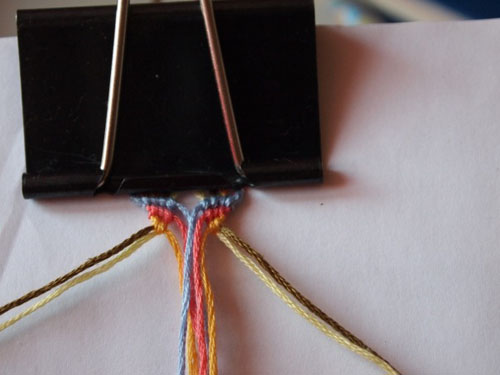
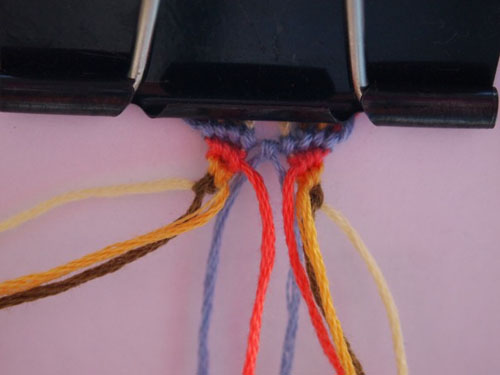
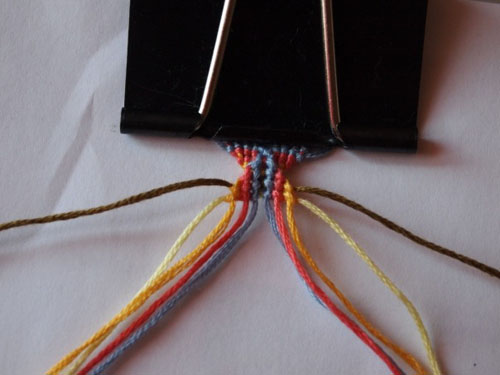
4. Now, take the strings in the middle and make knots so that the ends of each pair of strings remain behind the next knot.
5. Make knots with the strings of the same color.
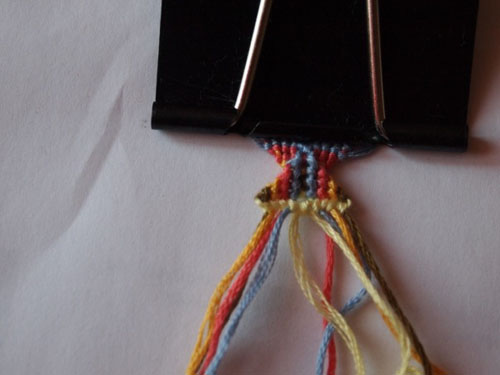
6. Tie the last ones as well. We get a nicely looking triangle.
7. Turn the triangle over.
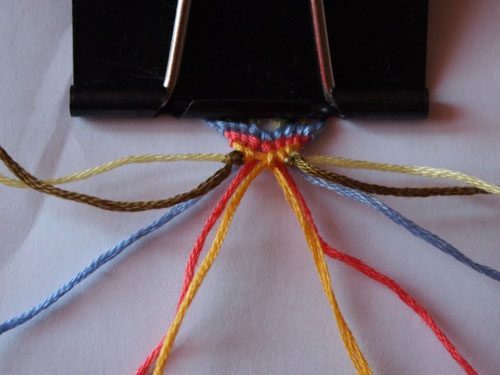
8. Take the upper blue string to the left and make forward knots on the lower left ones.
9. Take the upper blue string to the right and make backward knots on the lower right ones. Repeat the same with the other strings.
10. Again we get a triangle.
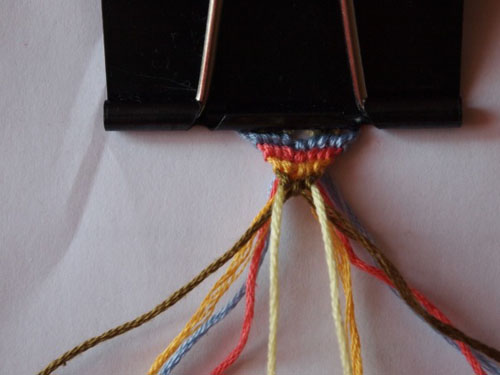
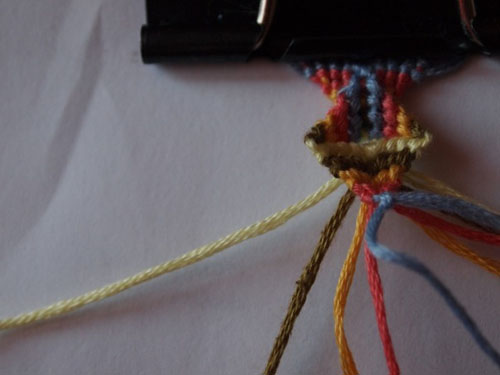
11. Take the yellow strings to the left and right and make knots with them up to the middle. In the middle make another yellow knot. Again, the ends of each string should be behind the next knot.
12. Repeat the same with the other strings.
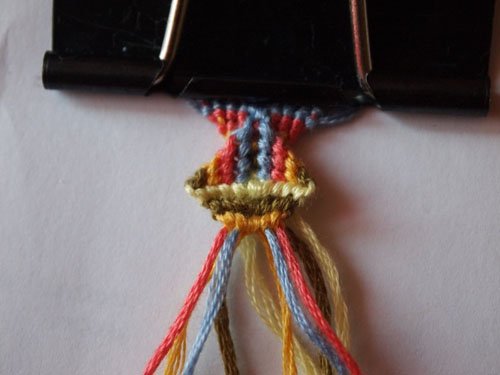
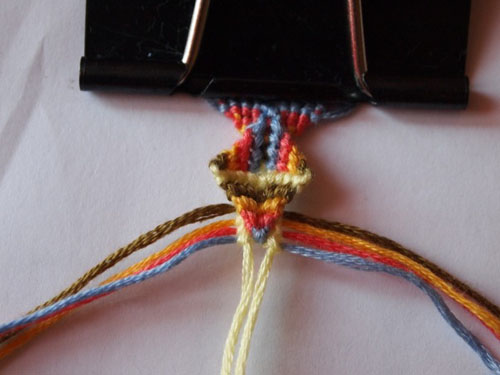
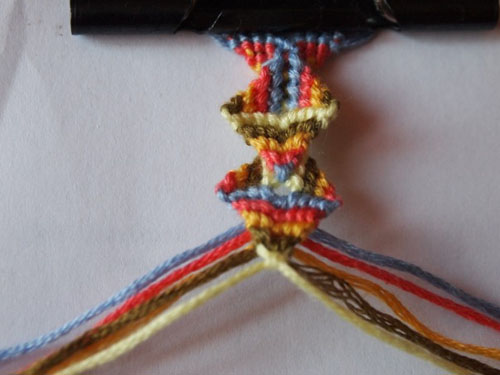
13. Now we have a diamond:
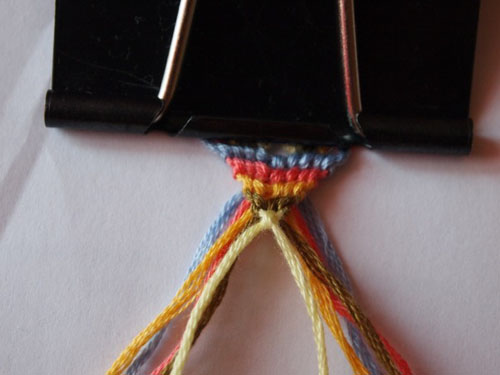
14. Take the upper left yellow string and make forward knots on the lower ones. Repeat the same with the upper right yellow string.
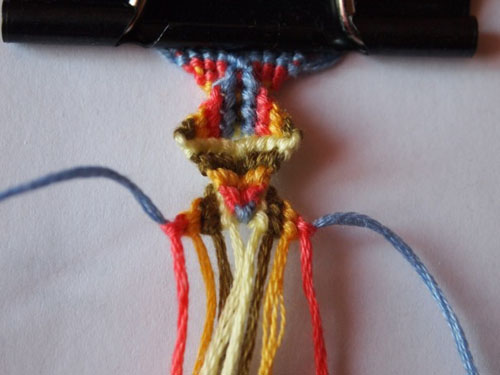
15. This is what it should look like:
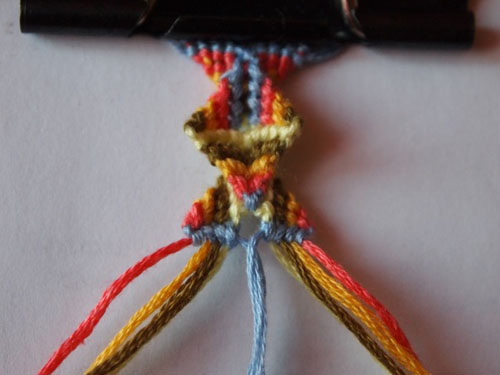
16. Repeat the same with the rest of the strings on both sides.
17. From here on repeat steps 11-16.
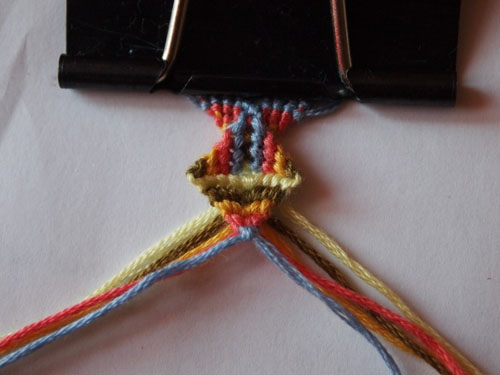
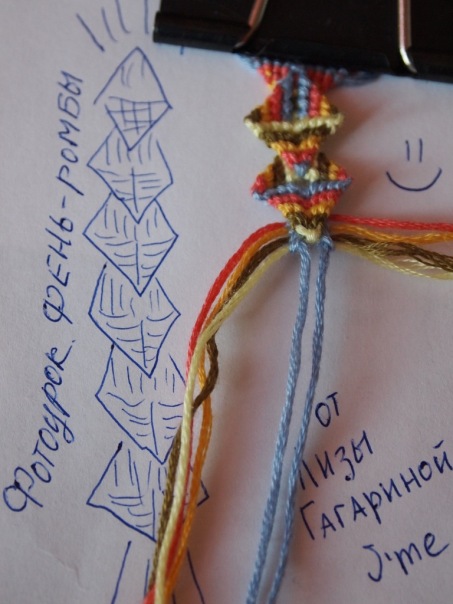
18. We get another diamond:
19. Repeat steps 11-17 several more times until the bracelet is ready.
Many thanks to Liza Gagarina for the tutorial! :)
Save to:
Comments:
