How to Make a Name Bracelet
We will need:
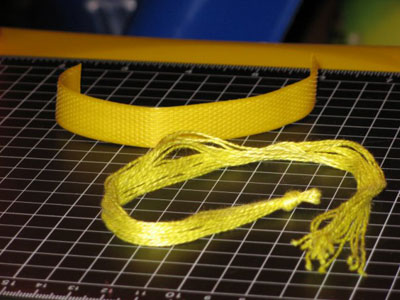
- Cut out a thin strip from a plastic bottle or any other flexible, hard material about 1-2 cm in width and the length of you wrist.
- Take 18 threads of one color 50 cm long for the base (leave 10cm at both ends for tying the bracelet).
- You will also need a ball of threads of a different contrasting color.
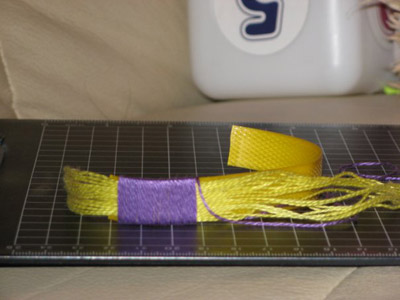
1. Put the yellow threads to the strip and wrap the violet string (the background) over them. You can tuck the beginning of the violet string into the wrapping or glue it on. Try to wrap the violet threads really close to each other. Shift the rows not to leave any holes.
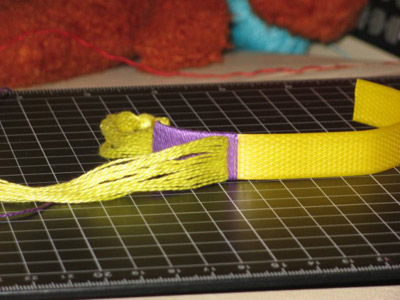
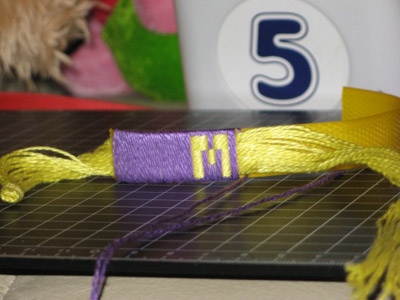
2. To make a letter, fold back the yellow threads and wrap the violet string over the strip just a little bit.
3. Now, put the yellow threads back in their previous position. Place them over the violet threads. Thus we are making a letter “M”.
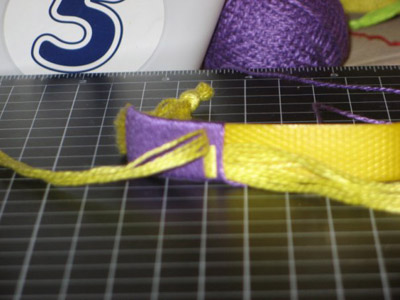
4. Make the other letters according to the same sequence. You should constantly straighten out the yellow threads so the letters look better and more even.
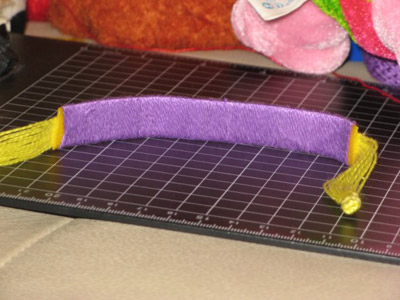
5. This is what the back of the bracelet looks like. Glue or hide the end of the violet string at the end of the bracelet.
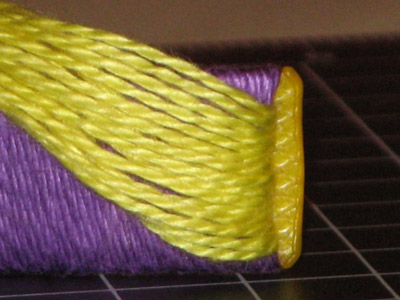
6. So the threads do not slip off the ends of the strip you should do this: fold back the threads at both ends and melt the edges of the plastic strip so that they overlap the threads at the corners.
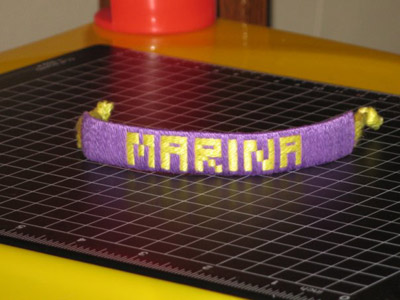
7. Finished!
Thanks to Marina Pozdnyakova for the tutorial.
Save to:
Comments:
