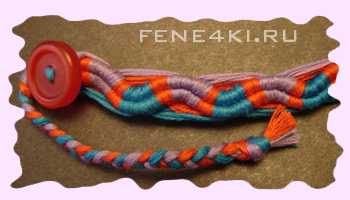
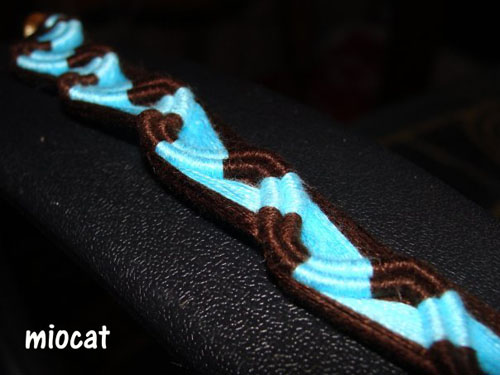
How to Make a Peruvian Wave Bracelet
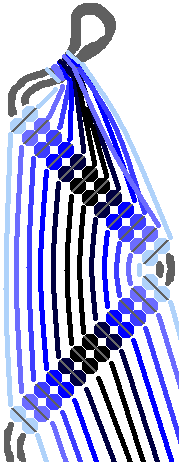
Let’s try to make this bracelet according to this scheme:
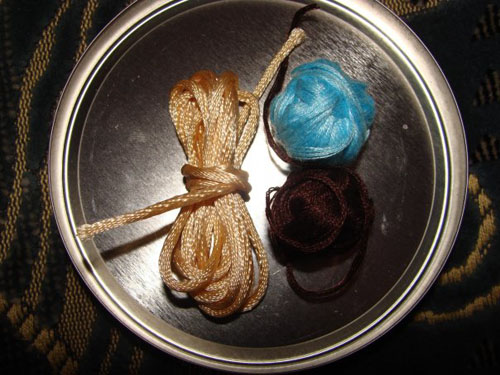
1. Take some threads and a cord.
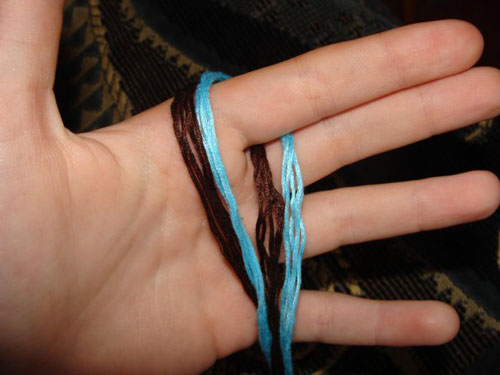
2. Cut off some threads keeping in mind that we will need to fold them in half. For example, 10 threads of two colors 120cm long.
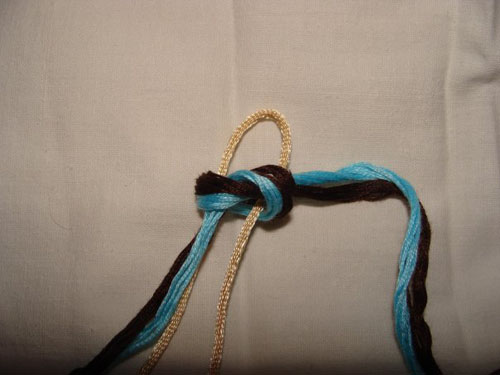
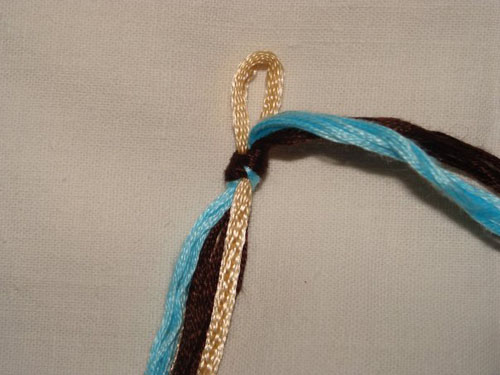
3. Tie the strings to the cord like this:
4. Don’t forget to leave a small loop at the top of the cord.
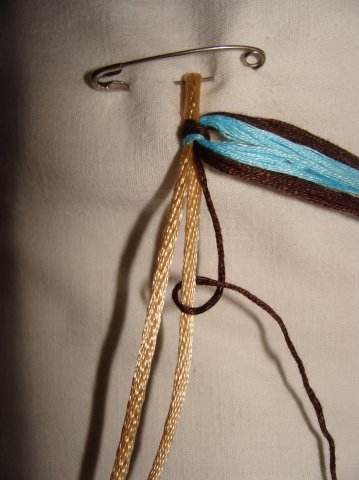
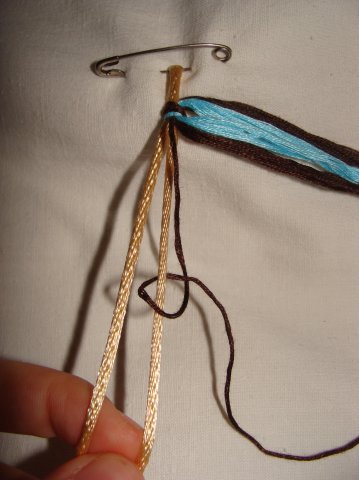
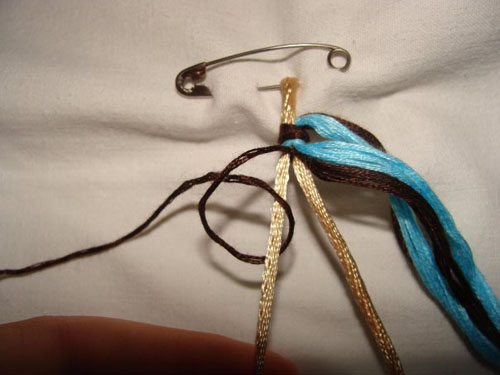
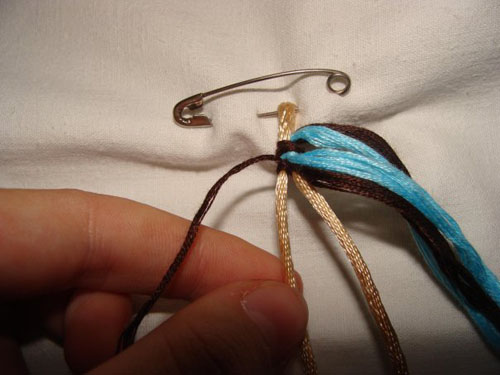
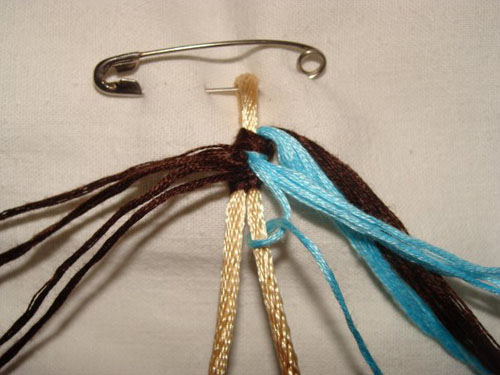
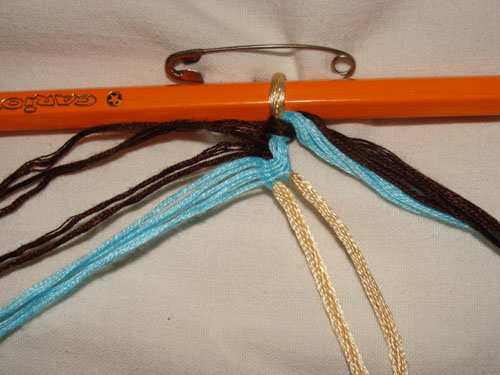
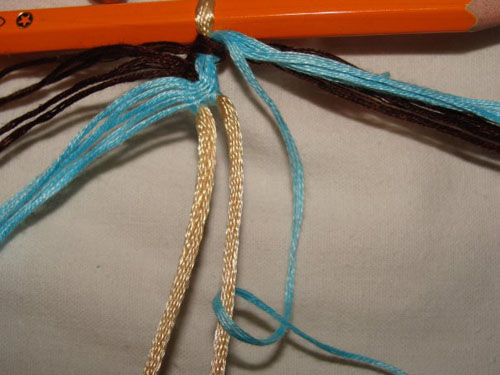
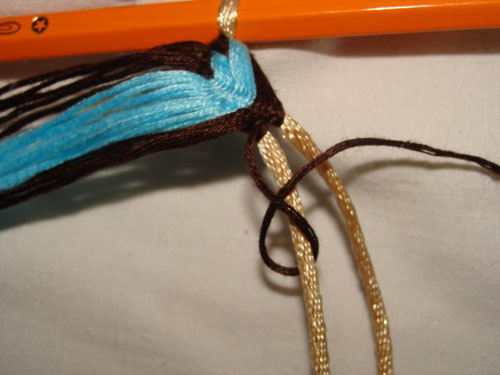
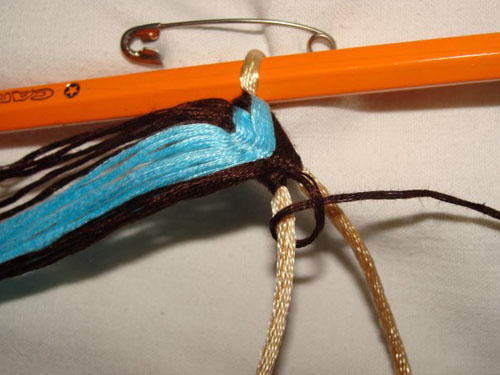
5. Take the brown string and make a knot on the cord.
6. And one more.
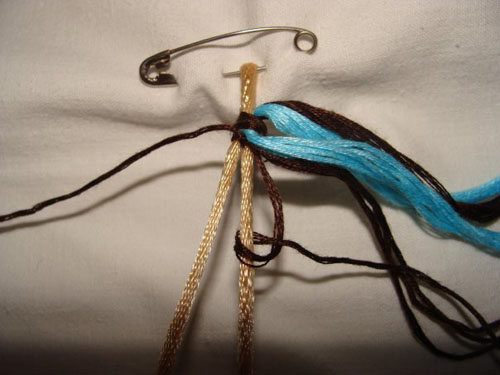
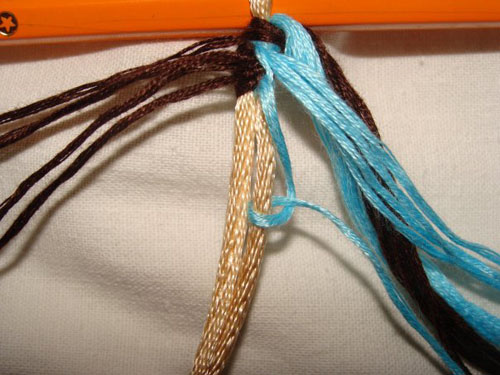
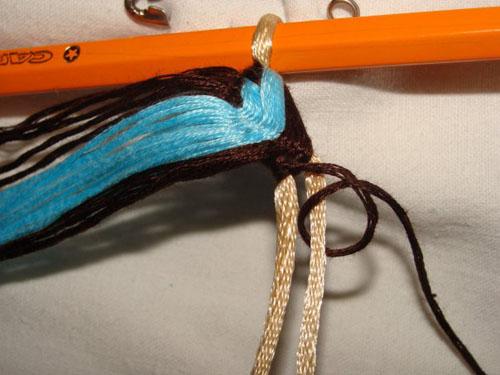
7. Next, make two knots with the same string on the other part of the cord.
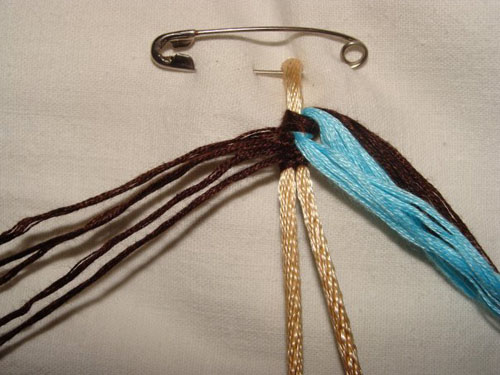
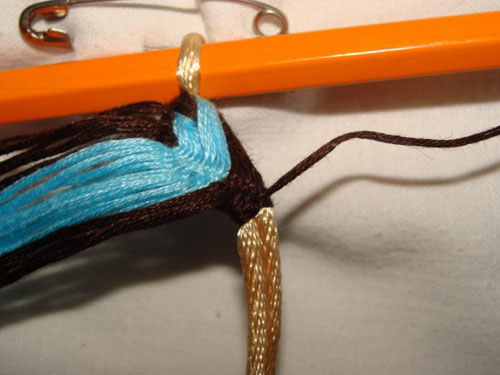
8. Now, take the next brown string and do just the same as with the first brown string: two knots on both parts of the cord. The same goes for all the other brown threads from this batch.
9. You can see that all the brown threads from the first batch are now to the left.
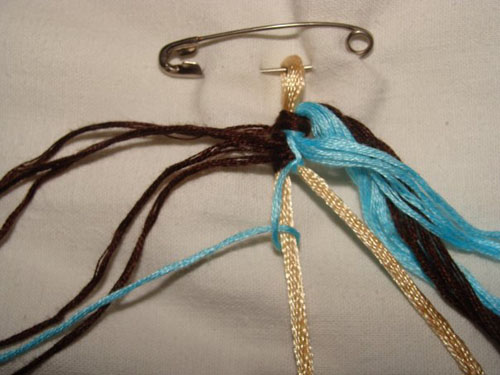
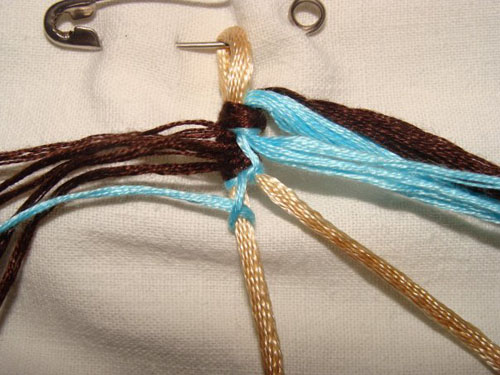
10. Next, take the blue threads and do exactly the same.
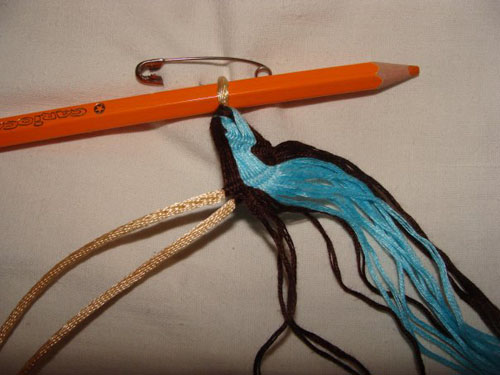
11. The first batch of blue threads is now to the left. By the way, you can put a pencil in the loop, so it doesn’t disappear.
12. Now take the blue threads from the second batch and make the same knots.
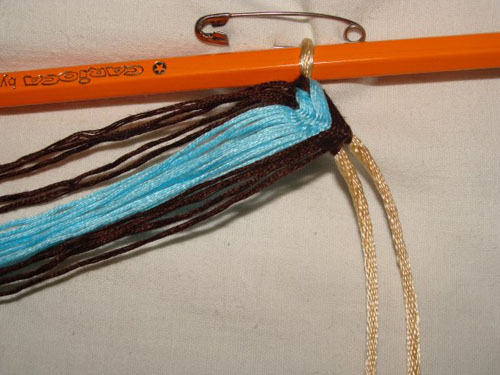
13. Next go the brown ones from the second batch.
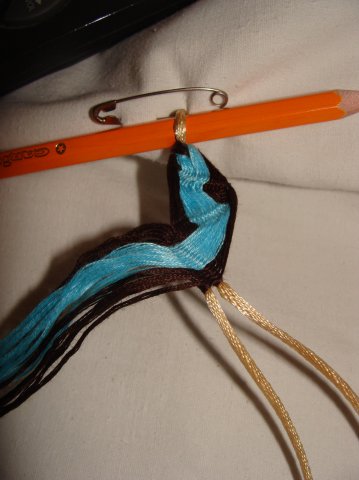
14. This is what it should look like. All the threads should be to the left now.
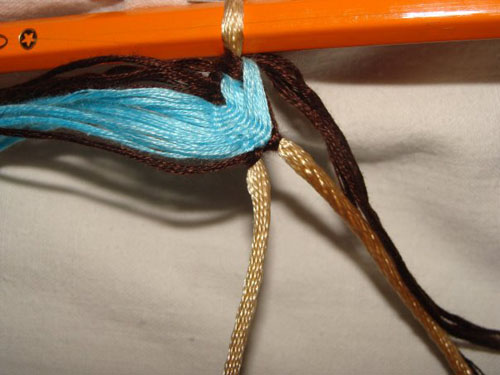
15. Take the brown string that was the last one and start making knots in the other direction. The sequence is the same but now we do it left to right.
16. All of the threads are to the right now.
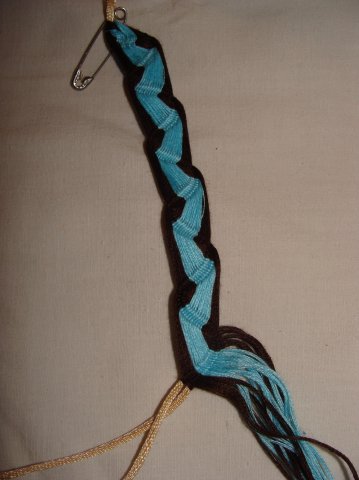
17. Continue knotting. First, right to left, then vice versa.
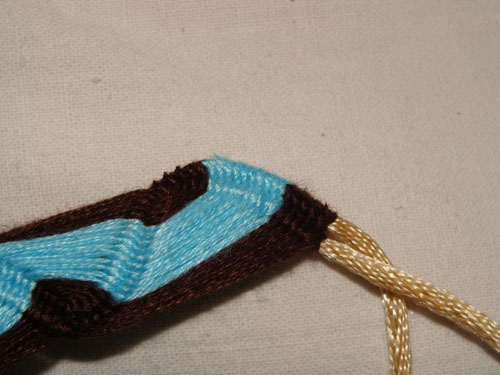
18. The result should be something like this:
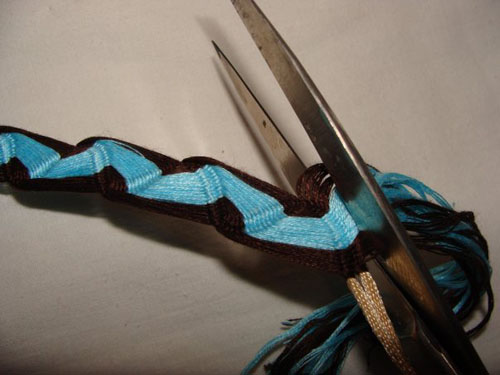
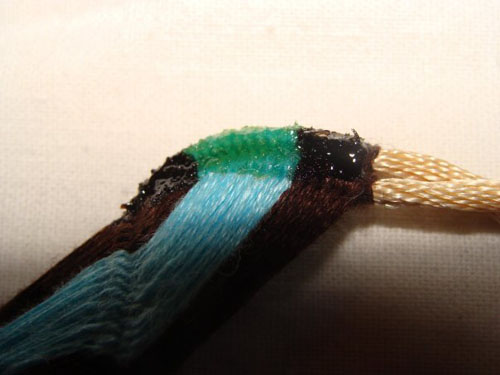
19. Cut off the excess threads.
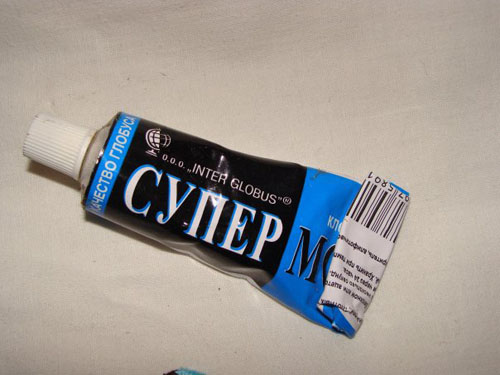
20. Apply glue to the part where we cut off the threads. This is done so that the threads do not get untied later.
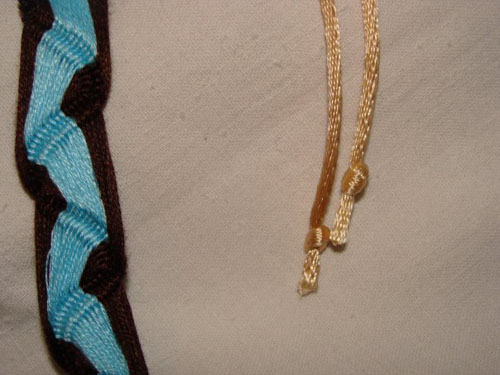
21. And don’t forget to tie knots at the ends of the cord or they will get fringy later. You can also apply some glue there.
22. Turn the bracelet over, and, hey presto, it’s ready!
Many thanks to Maria Shuvalova for this tutorial.
Save to:
Comments:
