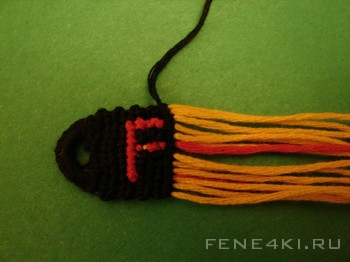
How to Make a Multicolor Alpha Bracelet
Before starting, if you don’t know how to make a simple alpha bracelet (2 colors) check it out
here. If you want to know how a loop at the beginning is made, take a look here.
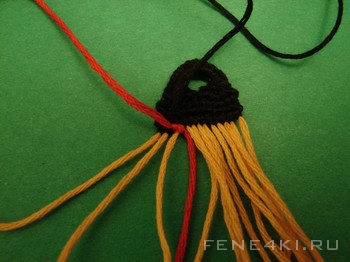
1. Adding a new color may seem difficult at first, so let’s see how it is done. We are going to make a red letter “F”. At the place, where you need to add a new color, tie a knot of this color (red string in the picture). Thus the new (red) string substitutes the background (black) string.
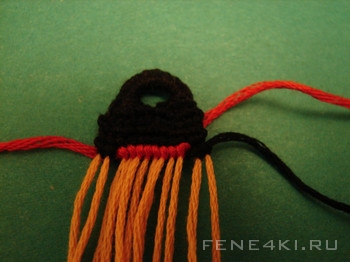
2. Place the smaller end of the new (red) string behind the bracelet so it doesn’t interfere. Do the same with the background (black) string. Now you can make a row of knots with the new string:
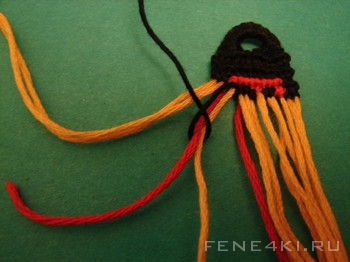
3. Next, when you have made enough knots, place the new string behind and take out the background (black) string from the other side of the bracelet. Continue making knots with this string now.
4. Continue making knots with the background string until you need the new (red) one. Take it out from under the bracelet and make several knots with it. Don’t forget to tuck the background (black) string under the bracelet for a while until you need it again.
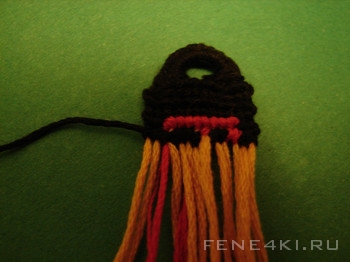
5. When you reach the place where you have added the new string just make a knot with the background string on it so it doesn’t bother you. You can cut it off later.
6. Continue weaving the bracelet…
7. This is what it looks like after you have finished with this color. Next, continue weaving with the letter and background threads you have, or add new ones. By the way, the other side of the bracelet will look all messed up, it's normal, as you need to constantly change the background string and the ones of new colors.
Save to:
Comments:
