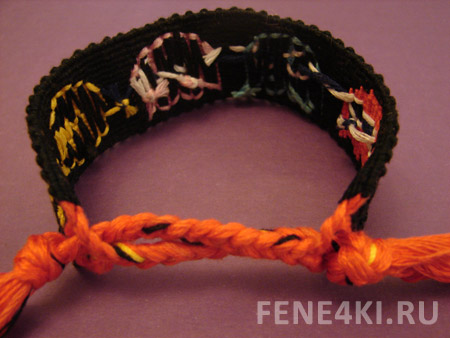
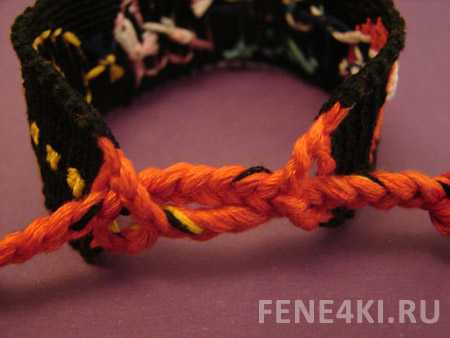
How to Start/Finish a Friendship Bracelet
Let's take a look at several ways of starting and finishing your bracelet.
Method 1
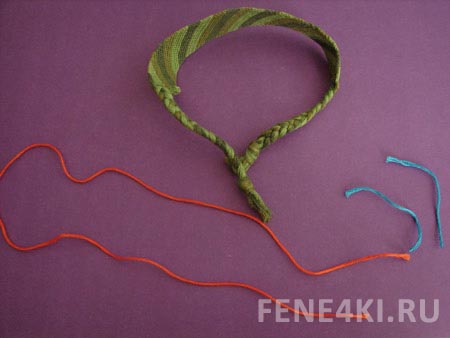
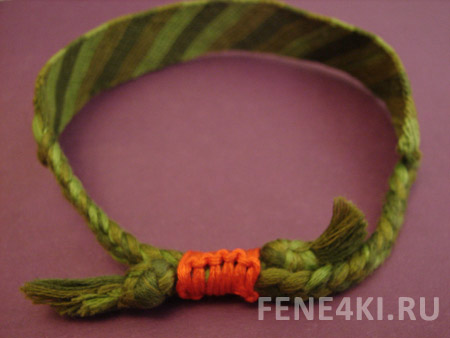
1. Tie braids at both ends of your bracelet. You will also need a string of the same color as your bracelet so it wouldn’t be so visible. In this lesson this string is orange as you can see better how the fastener is done. We will also need something to hold the braids together for some time. You can use adhesive tape or some string (blue ones in the pic).
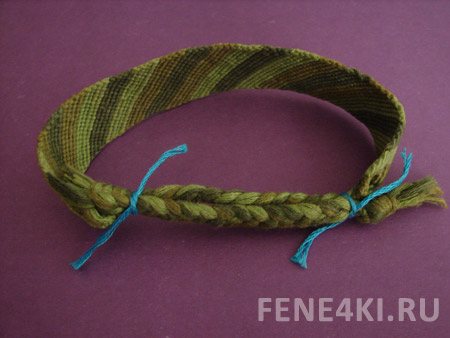
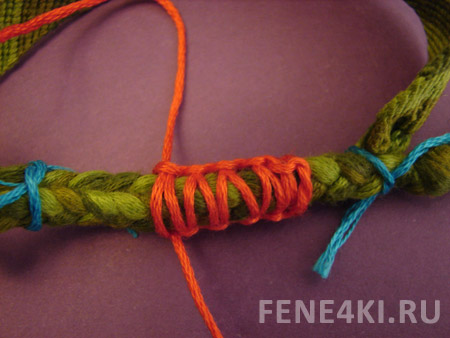
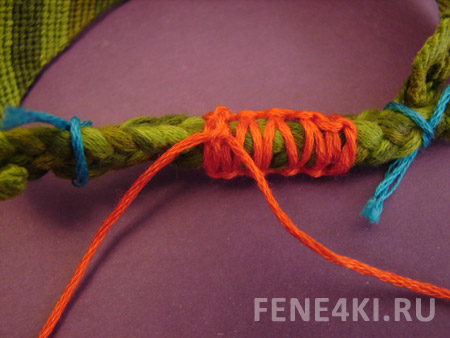
2. Put the braids together and fasten them as shown in the picture:
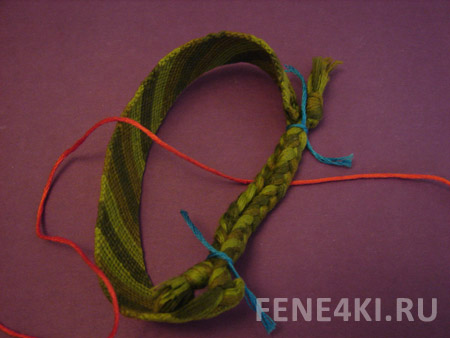
3. Place the orange string under the braids.
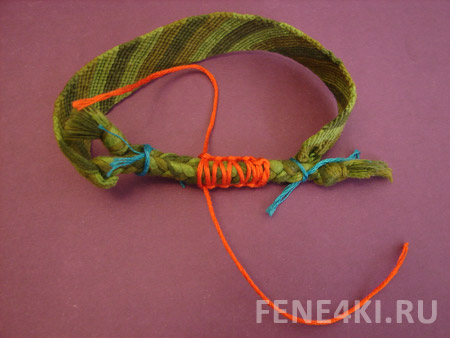
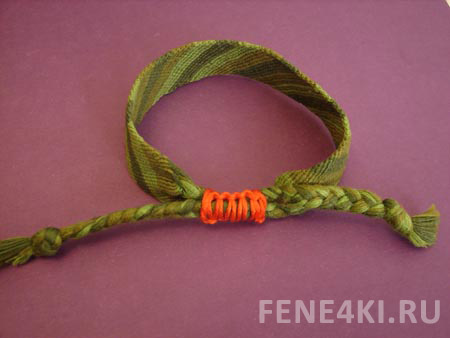
4. Now we are going to start doing macrame knots, specifically, the square knot. Try not to fasten the knots too tight so the braids can easily move inside.
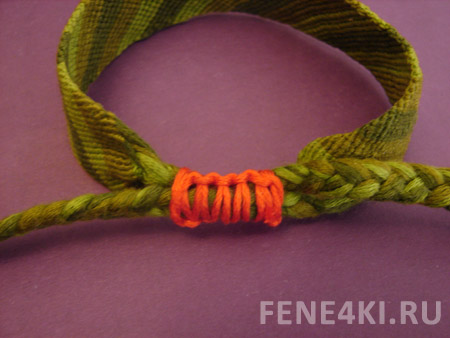
5. After you finish, make a double or triple knot at the end and cut of the excess strings.
6. Finished! Now you can easily adjust the length of your bracelet. :)
Method 2
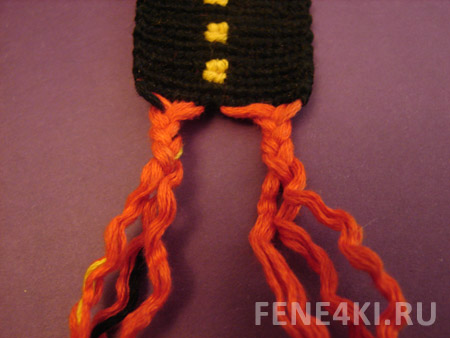
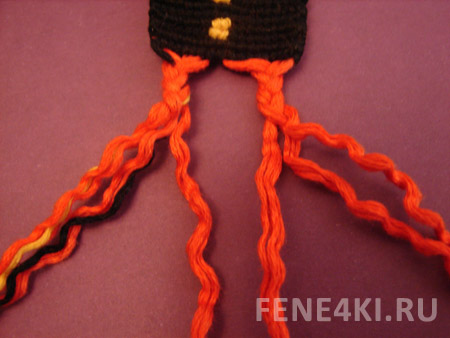
1. Divide the strings into two parts and make small braids such as in the pic:
2. Divide the strings into three parts now.
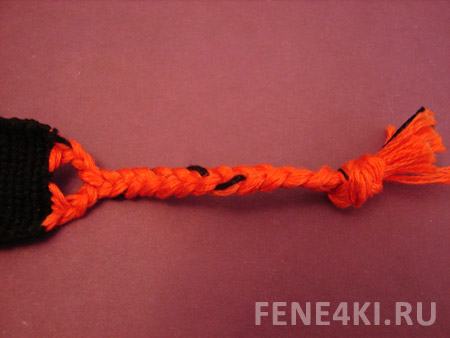
3. Make one big braid and a knot at the end. As you can see there is a small hole at the beginning. Now do the same with the other end of the bracelet.
4. Place the knots in each of the holes. Make sure the knot isn’t too small, otherwise the bracelet will get untied, and not to big, or it won’t fit the hole. This is how it looks like:
Save to:
Comments:
