Round Ribbon Bracelet Tutorial
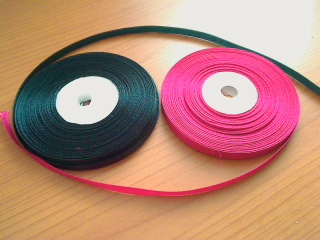
1. To make such a ribbon bracelet you will need 2 ribbons of different colors, 2 meters each.
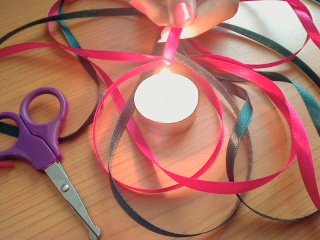
2. Melt the ends a bit so they don’t fringe.
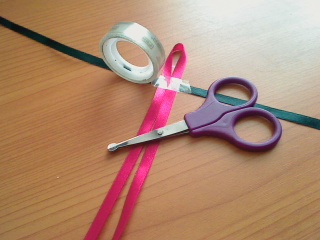
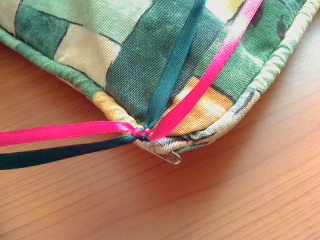
3. Stick the ribbons to you work surface as shown in the picture.
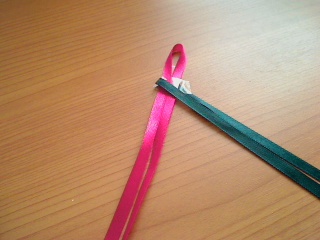
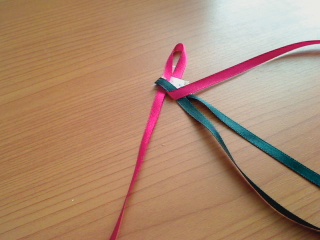
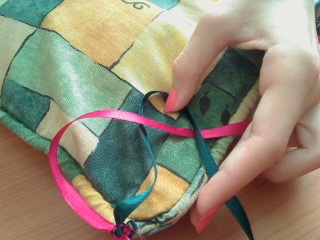
4. Now it’s time to start braiding. Place one end of the green ribbon over the pink ribbon.
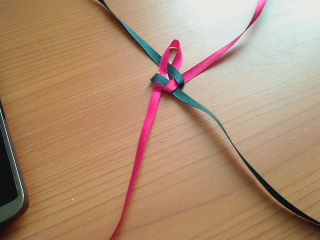
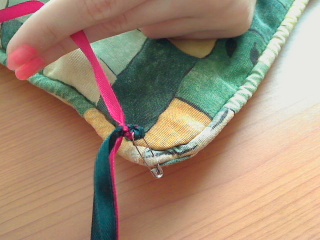
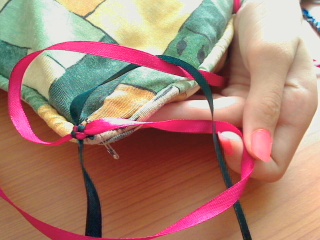
5. Now place the pink ribbon over the green one as in the picture:
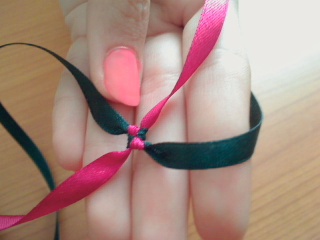
6. Take the green ribbon and pull it through the pink loop:
7. Take the sticky tape off. Pull and tighten the ribbons.
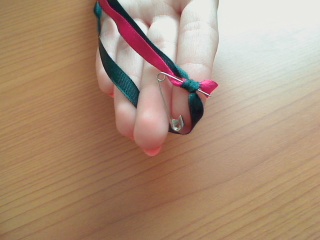
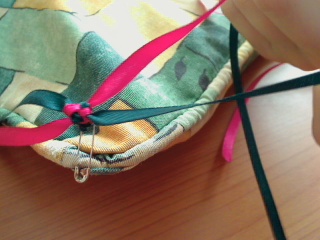
8. Attach a safety pin through the green ribbon on the other side.
9. Attach the bracelet to your work surface.
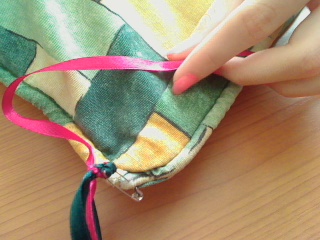
10. We’ll need the pink ribbon now.
11. Bend it and turn it like this:
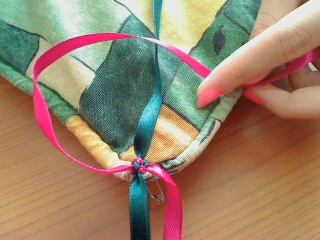
12. Place a green ribbon under it.
13. Bend the green ribbon and place it over the pink one.
14. Take the second pink ribbon, bend it and place it under and over the first green ribbon.
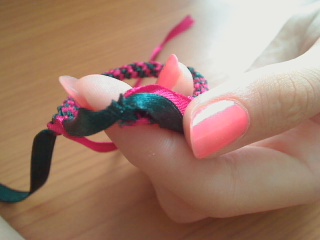
15. Take the second green ribbon. Place it under and over the first pink one and then over the second pink one. Pull it through the loop and tighten all the ribbons. Repeat steps 10-15 going UNDER-OVER-UNDER-OVER.
16. When you reach the right length take off the safety pin...
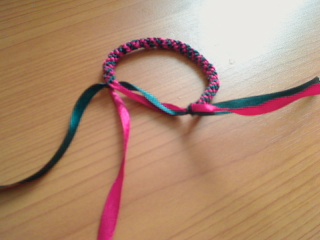
17. …and thread two ribbons through the loop at the beginning. Pull to tighten the bracelet. You can tie a bow at the end.
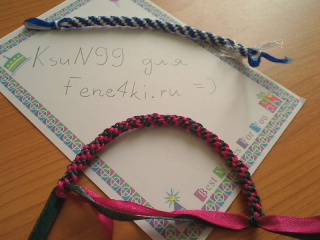
18. Now it’s ready.
Thanks to KsuN99 for the tutorial!:)
Save to:
Comments:
