Kumihimo Bracelet Tutorial
16 String Kongo Gumi
We will need:
16 strings about 20 cm longer than your wrist circumference + some for tying the bracelet.
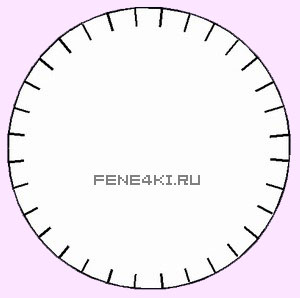
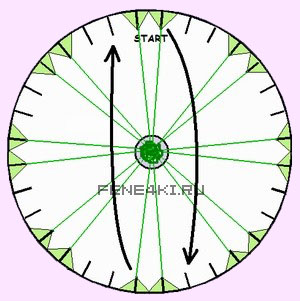
1. At first you need to make a braiding tool. Take a piece of cardboard or foam plastic – something hard but easy to cut. Draw a circle with a diameter of 15-17 cm and cut it out or you can print out
this stencil, stick it to some cardboard and cut it out.
2. Make 32 notches around the circle.
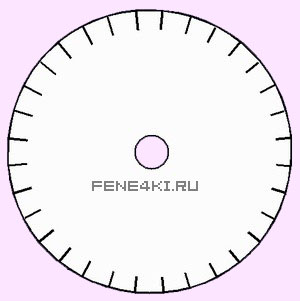
3. Cut out a small circle in the middle, so it could hold the knot of your bracelet.
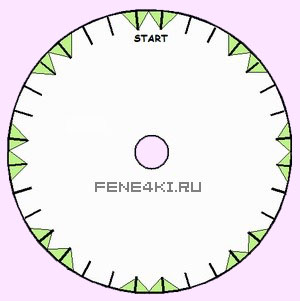
4. Color in the small triangles with the colors you have chosen as shown in the picture. The word Start should be at the top. Each triangle color correlates with the color of the strings. As you can see, we need 16 green strings.
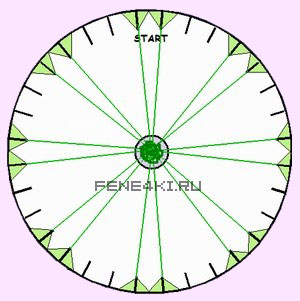
5. Tie the strings into a knot and place them into the hole in the middle. Place the strings into the notches of the right color. The knot should be on the other side of the hole.
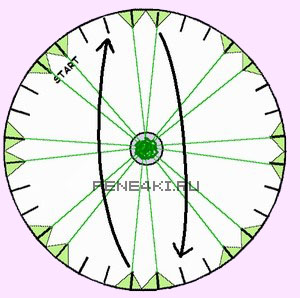
6. Start braiding. Take the starting string to the right and place it down to the right. Next, take the lower left string and place it up and to the left.
7. Turn the braiding tool counterclockwise so that the Start section is placed as in the picture, i.e. it’s to the left now. Now again take the upper right string and place it down to the right. Take the lower left string and place it up and to the left. After this repeat the same steps. Turn the braiding tool counterclockwise and place the strings in the given order.
You can also check out our
video tutorial on how to make kumihimo bracelets.
Save to:
Comments:

